Quick Start Guide
1. Create an Account
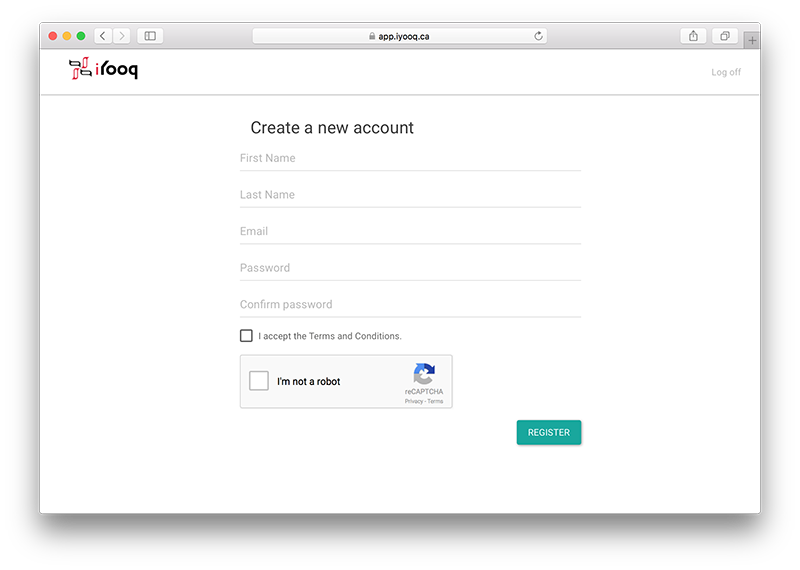
First thing you need to do is Create a New Account. This is a critical first step in using iYook as whatever email address you register with you can share with other entities utlizing iYook so your affiliations show up automatically in your dashboard.
Once you are on the Create a New Account page, fill in your Name, Email, Phone, Password (must be at least 6 characters long), check the box beside “I accept the Terms and Conditions” as well as beside “I’m not a Robot” and hit Register.
You will receive a verification email, ensure you click on the link to verify your account.
2. Creating your Organization
 If you created a new account because your organization is already utilizing iYook then that organization should show up in your dashboard.
If this is your first time, then you must put in the name of your Organization, select your time zone, your language and your type of organization then hit “CREATE”.
3. Scheduling a meeting
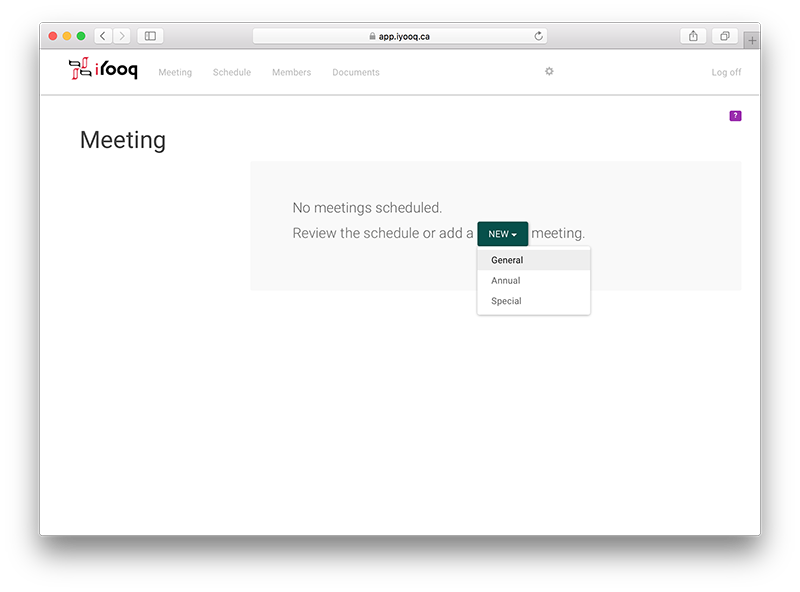
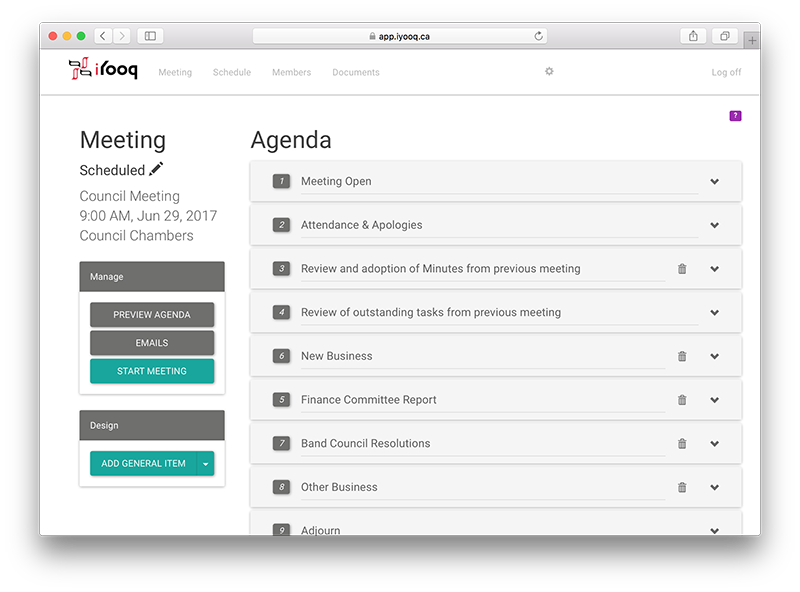
After creating your Organizaiton you will be logged in and viewing the Meeting page. If you have logged into an existing Organization with meetings scheduled you will be on the Meeting page showing the agenda for the upcoming meeting.
If this is your first time then from the Meeting page, click New and select the meeting type, usually General.
The next page will be where you create your Meeting, you can type in the Name and location, pick the Date and Time and then hit Save. This is the same process as on the Schedule page every time you want to create a new meeting.
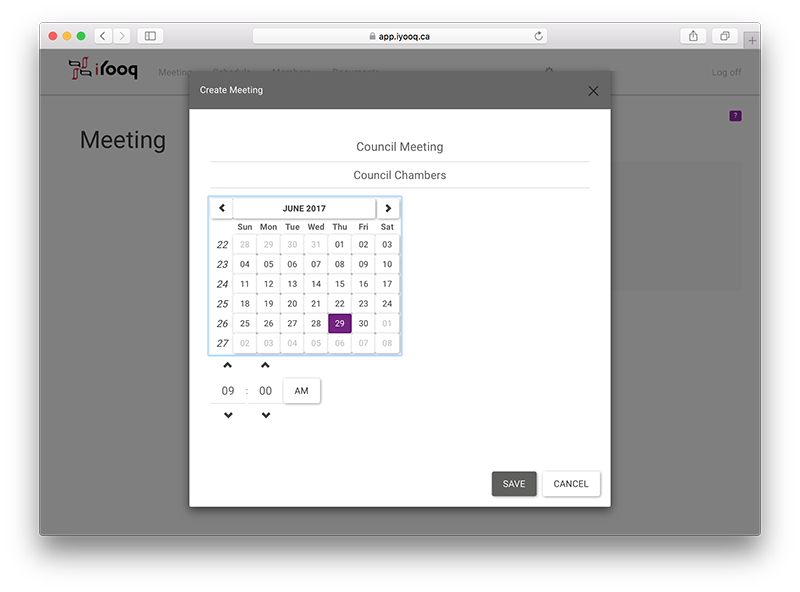
Once you hit Save your Draft Agenda will appear. If you need to edit anything in regards to location, date or time just click on the Pencil beside the Scheduled.
4. Editing your Agenda
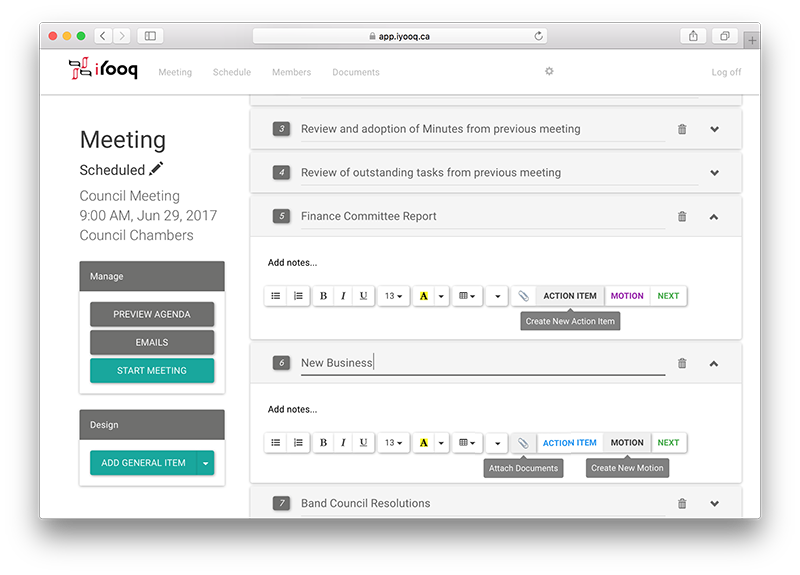
To edit your agenda is straight forward. Each of the agenda items are fully editable, you can Create New Action Item’s, Attach Documents and Create New Motions so they can be carried or declined while the meeting is in process.
As well each for the Agenda items can be dragged and dropped if you want to change their position in the agenda.
5. Adding Members
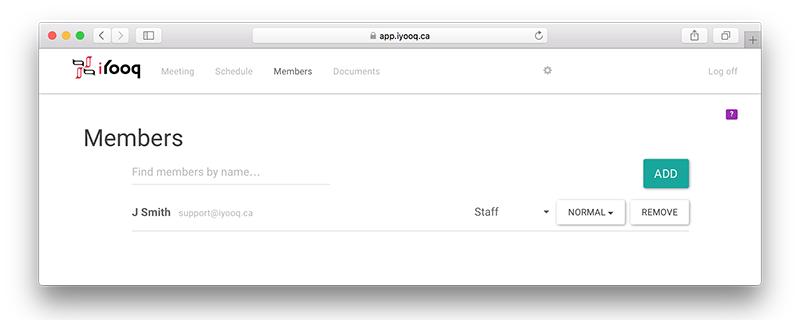
Before distributing the Agenda to members, you must update your Members Register. Click on the Members option in the top row.

6. Notifying Members
Coming Soon
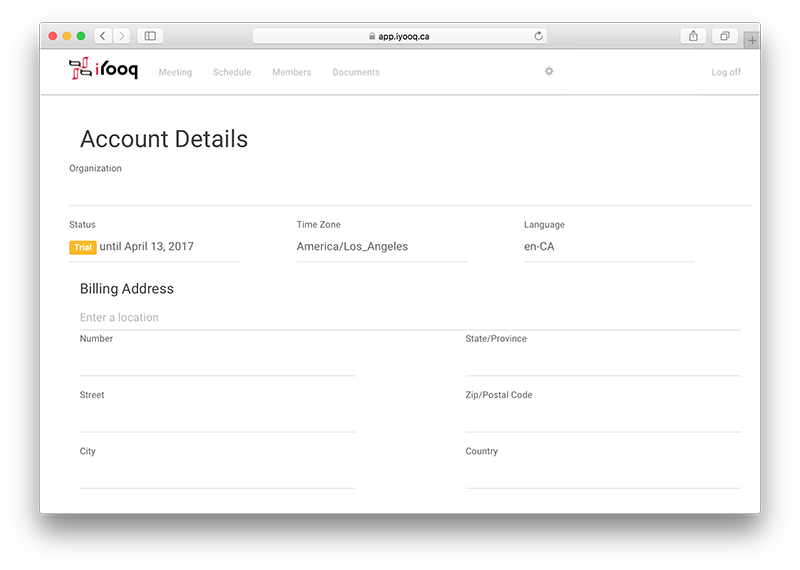
7. Account Settings
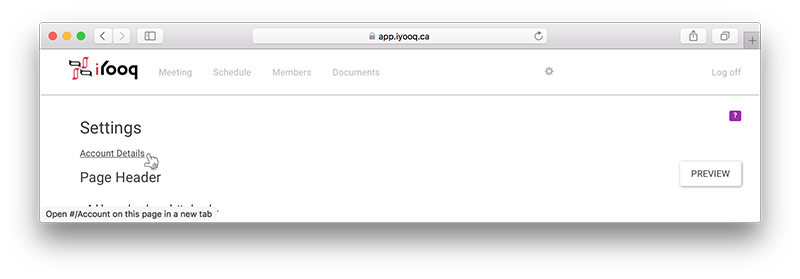
If you would like to purchase iYooq this can be done through your Account Settings located in the Settings section of the app.
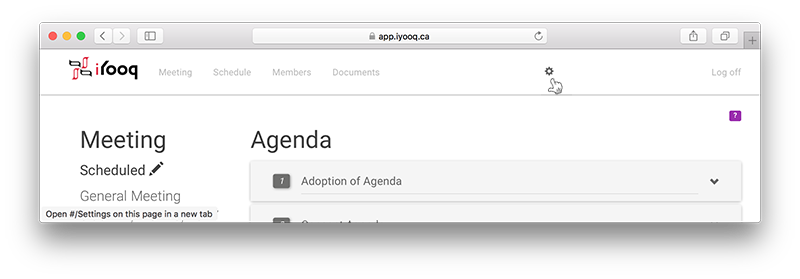
Once your in the Settings screen you will see Account Details, click on here.
In here you can fill in all your pertinent information, choose your plan and provide your method of payment. If you are having issues please contact us by phone or by email – both are located in the header at the top of the page.